By Greg Nowak. Last updated 2026-09-12.
Pasting a screenshot into Drupal should make publishing easier. For teams writing support articles, updating procedures, or handing content between an agency and a client, saving every screenshot locally and uploading it separately adds unnecessary friction.
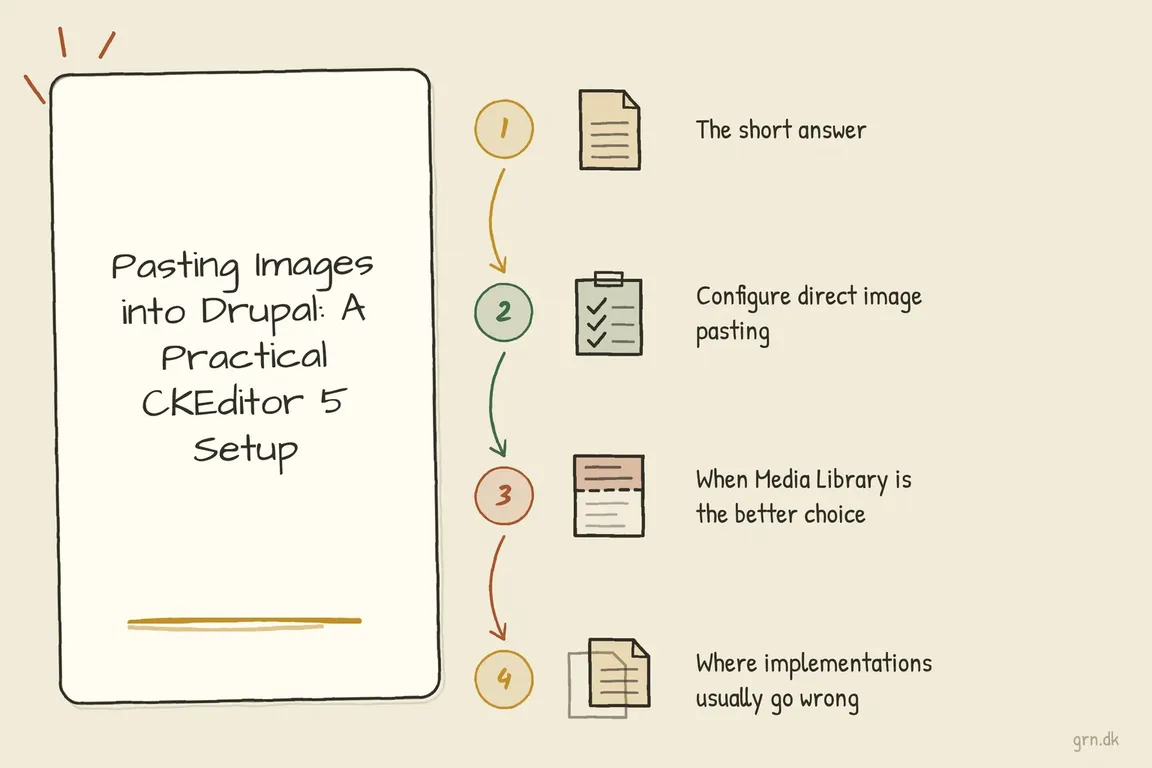
Drupal’s CKEditor 5 integration can handle direct image uploads. The useful work is configuring the right text format, deciding which images belong in Media Library, and checking that the result survives saving and publishing. Here is how I would approach that setup for a working editorial team.
Choose when editors should paste and when they should use Media Library
Start with a simple publishing rule: paste screenshots created for a single article; use Media Library for assets the team expects to find and reuse. A pasted image uploaded through core becomes a file, not automatically a Media item with your organisation’s metadata and display settings.
| Image or workflow | Recommended route | What to agree first |
|---|---|---|
| Screenshot explaining one procedure | Direct paste | Crop, readability, alt text, and upload limits. |
| Logo, product photo, or campaign asset | Media Library | Naming, ownership, and reuse. |
| Diagram used across several pages | Media Library | Who maintains it and reviews replacements. |
| Image needing consistent crops or responsive output | Media Library with configured displays | Image styles, view modes, and mobile presentation. |
| Custom editing application outside Drupal’s editor | Separate upload integration | Upload endpoint, authentication, and file handling. |
For a standard Drupal 10 or 11 CKEditor 5 setup, begin with core functionality. The older Image from Word module is marked obsolete and says its functionality is available through core with CKEditor 5. Installing it is not the starting point for this workflow.
Configure image pasting in the format editors actually use
Make the change in a development or staging environment first. Text formats can be shared across content types, so a toolbar change may affect more than the page you are testing.
- Identify the format. Open a typical content form as an editor and note its selected text format. Then visit
/admin/config/content/formatsand configure that format. - Confirm CKEditor 5 is selected. Add the Image button to the active toolbar.
- Enable image uploads. In the Image plugin settings, review the upload destination, directory, maximum file size, and maximum dimensions.
- Check format compatibility. Resolve configuration validation messages and retain the markup and image handling required by the editor. Avoid copying CKEditor 4 attribute lists into the allowed HTML settings.
- Check editor access. Confirm the publishing role can use this format, then save the configuration.
Drupal’s core Image plugin connects enabled uploads to Drupal’s upload endpoint. A standard installation does not need a separately purchased upload service for this.
Choose limits using representative screenshots. Tiny limits frustrate editors; generous limits can let large desktop captures through unnecessarily. Crop before pasting where possible, and check that labels remain readable after resizing. Making an image look smaller in the editor does not prove the downloaded file is smaller.
Set up Media Library as a usable alternative
Enable the core Media and Media Library modules, add the Media Library toolbar button, and enable the Embed media filter. Drupal’s media embedding documentation recommends putting that filter last, after filters handling allowed HTML, alignment, and captions.
Limit selectable media types and view modes to choices editors understand. Configure the underlying image displays where consistent sizing or responsive output is needed; enabling Media Library alone does not finish that work.
Test whether the publishing role can find existing images and create the required Media items. Give assets recognisable names and assign someone to maintain shared images. Otherwise, the library can become another place where editors upload duplicates because searching feels slower.
Test the whole publishing journey
Use a normal editor account and a representative article. Paste an operating-system screenshot, wait for the upload, add meaningful alt text, save, reopen, and inspect the published page on desktop and mobile.
Repeat with the browsers and drafting tools your team uses, including Word or Google Docs where relevant. Clipboard contents vary. CKEditor’s upload documentation distinguishes uploading an image from inserting an image URL; a visible image does not prove a file reached Drupal.
- Check that the rendered image uses your intended file storage or CDN, rather than an unexpected external host.
- Try an oversized image and confirm the rejection is understandable.
- Test the formats editors use, including PNG, JPEG, or WebP where supported by the site.
- Check captions, alt text, and screenshot readability after saving.
- For restricted content, test image access while logged out as well as logged in.
If a particular clipboard source fails, save the image locally and upload it through the Image button as a fallback. Avoid storing Base64 image strings in body HTML: CKEditor documents the resulting storage and transfer overhead, including the loss of separate image caching.
Give the developer a reproducible handover
These Drush commands inspect enabled modules and the common basic_html format. Substitute your actual format machine name:
drush pm:list --status=enabled --type=module | grep -E 'ckeditor5|editor|filter|media|media_library'
drush config:get editor.editor.basic_html
drush config:get filter.format.basic_html
After testing, export configuration in the development environment and review the changes:
drush cex -yThis exports site configuration, potentially including unrelated changes. Deploy through the project’s normal review and import process. Where a cache rebuild is needed, use:
drush crFor failures, record the clipboard source, browser, role, format, and exact step. Upload failures point towards the request, limits, or server logs; images missing after saving call for checking stored markup and filters; administrator-only success calls for comparing access.
If your team needs a dependable setup, Greg can help review the editor configuration, Media Library choices, and publishing checks, then turn them into a clear handover. Talk to Greg about your Drupal publishing workflow.
Related on GrN.dk
- Inline Image Pasting in Drupal: Faster Editing Without Media Chaos
- AI disclosure rules belong in your CMS, not a spreadsheet
- Drupal 8 Inline Responsive Images: A Sensible Legacy Setup
Need help with this kind of work?
Talk to Greg about your Drupal publishing workflow Get in touch with Greg.