By Greg Nowak. Last updated 2026-09-08.
A screen that is too bright makes everyday work uncomfortable, whether you are reviewing a website, working through spreadsheets, or setting up a shared workstation. In Ubuntu, the right fix depends on the display and your desktop session.
This guide expands the original Ubuntu 19.10–22.04 terminal tip. The xrandr commands remain useful on compatible X11 sessions, but they adjust the image in software. For everyday use, start with the screen’s hardware brightness controls.
Start with Ubuntu’s brightness controls
On the standard Ubuntu desktop, open the system menu at the top right and look for the brightness slider. Laptop keyboards usually have brightness keys marked with a sun icon; depending on the keyboard, you may need to hold Fn. These are the first methods described in Ubuntu’s brightness guide.
For an external monitor, try its physical buttons or joystick and open its on-screen menu. A missing Ubuntu slider does not necessarily mean the monitor’s brightness cannot be changed.
| Your situation | Start here | What to expect |
|---|---|---|
| Laptop with working brightness controls | Desktop slider or keyboard keys | The simplest adjustment for daily use |
| Laptop needing terminal control | brightnessctl |
Hardware adjustment if Linux exposes a backlight device |
| External monitor | Monitor menu, then ddcutil |
Software control depends on monitor and connection support |
| X11 session needing temporary dimming | xrandr --brightness |
Software dimming without lowering the backlight |
| Wayland session | Desktop controls or supported hardware tools | The X11 workaround below is unsuitable |
Check your session before using xrandr
Open a terminal within your desktop session and run:
echo "$XDG_SESSION_TYPE"If the result is x11, you can try the next section. If it is wayland, use the hardware methods further down. If the result is blank, check your desktop’s system information before proceeding.
On Wayland, xrandr may still list outputs through the Xwayland compatibility layer. That does not give it control over the physical display configuration, as the Fedora Project’s Wayland documentation explains. A successful listing alone is therefore insufficient.
Dim the image with xrandr on X11
Find the connected display names:
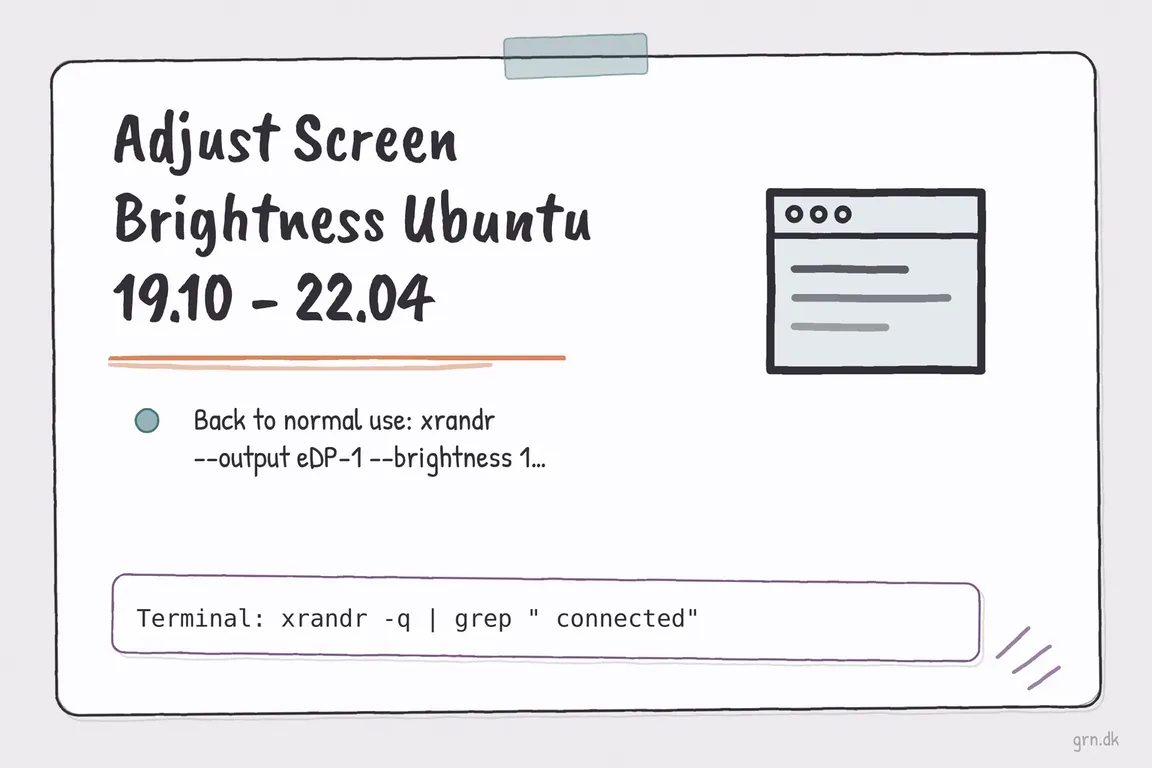
xrandr -q | grep " connected"For example:
eDP-1 connected primary 1920x1080+0+0 (normal left inverted right x axis y axis) 309mm x 173mmHere, the display name is eDP-1. Replace it below with your own output name. Start with a modest adjustment:
xrandr --output eDP-1 --brightness 0.8For stronger dimming, the original command is:
xrandr --output eDP-1 --brightness 0.5Restore the normal multiplier with:
xrandr --output eDP-1 --brightness 1The xrandr manual defines this as a software adjustment to gamma values. A value of 0.5 does not mean half the physical backlight brightness; 1 removes this dimming multiplier rather than setting the hardware to maximum.
Avoid this workaround when judging client artwork or website colours. Treat it as a temporary adjustment: desktop colour management or session changes may override it.
Control a laptop backlight from the terminal
When Linux exposes a supported backlight device, brightnessctl provides terminal control without depending on X11. Install it and list the backlight devices:
sudo apt install brightnessctl
brightnessctl --class=backlight --list
If one suitable device appears, inspect its current setting, then set it to 50%:
brightnessctl --class=backlight info
brightnessctl --class=backlight set 50%
Unlike the xrandr multiplier, this percentage refers to the device’s maximum brightness value, as documented in the brightnessctl manual. Record the previous value so you can restore it.
If several devices appear, add --device=DEVICE_NAME using the appropriate name from the listing. If no backlight appears, this method cannot control your panel through that interface. A permission error is a separate issue: on a managed work machine, ask your administrator to check device access before building a shortcut around it.
Adjust an external monitor with ddcutil
For a compatible external monitor, ddcutil can change brightness through DDC/CI. Enable DDC/CI in the monitor’s menu if that option exists, then install the tool and check detection:
sudo apt install ddcutil
ddcutil detect
Use the display number reported for the intended monitor. For display 1, read its brightness first:
ddcutil --display 1 getvcp 10Record the current value and check the reported maximum. If the maximum is 100, this sets the brightness value to 50:
ddcutil --display 1 setvcp 10 50Feature code 10 identifies brightness; the ddcutil command overview documents detection, monitor selection, and reading or changing features. If detection fails, use the monitor’s own controls while checking DDC/CI support, connection compatibility, and device permissions.
Make the fix useful for the whole team
Before adding a command to startup, test it after a logout, reboot, and dock reconnection. Record the Ubuntu version, session type, display identifier, working command, and recovery setting. That small handover note helps the next person resolve the same issue without repeating the investigation.
If recurring technical workarounds are interrupting your team’s day, talk to Greg about troubleshooting the setup and documenting a maintainable fix.
Related on GrN.dk
- Adjust power management settings for Ryzen Processors
- Enable SMART on Old External Seagate SSD Ubuntu 20.10
- NGINX 1.30 changed upstream connection reuse: what to check before you upgrade
Need help with this kind of work?
Talk to Greg about your team’s technical setup Get in touch with Greg.