By Greg Nowak. Last updated 2026-09-13.
Enabling TLS on a business mail server should protect customer messages without interrupting enquiries, password resets or staff email. The tricky part is that incoming mail, authenticated sending and mailbox access need different policies. One setting applied everywhere can create a delivery problem.
This guide covers an existing Postfix and Dovecot installation. If your server only sends application notifications, consider an SMTP relay provider first. Running your own mail service also means owning its monitoring, updates and recovery.
Start with the services people actually use
Before changing configuration, list the applications and mail clients using the server, their connection hostnames and ports, and who can test them. Save the current configuration and queue status. Agree a change window and a rollback owner, especially when an agency and an internal operations team share responsibility.
| Service | Port | TLS policy | Acceptance check |
|---|---|---|---|
| Public incoming SMTP | 25 | Offer STARTTLS; permit unencrypted delivery | External senders can deliver |
| Authenticated submission | 587 | Require STARTTLS before AUTH | Applications authenticate and send securely |
| Implicit TLS submission | 465 | TLS from connection start | Client and server use the same mode |
| IMAP mailbox access | 993 | TLS from connection start | Mail client connects without certificate warnings |
Keep public SMTP compatible
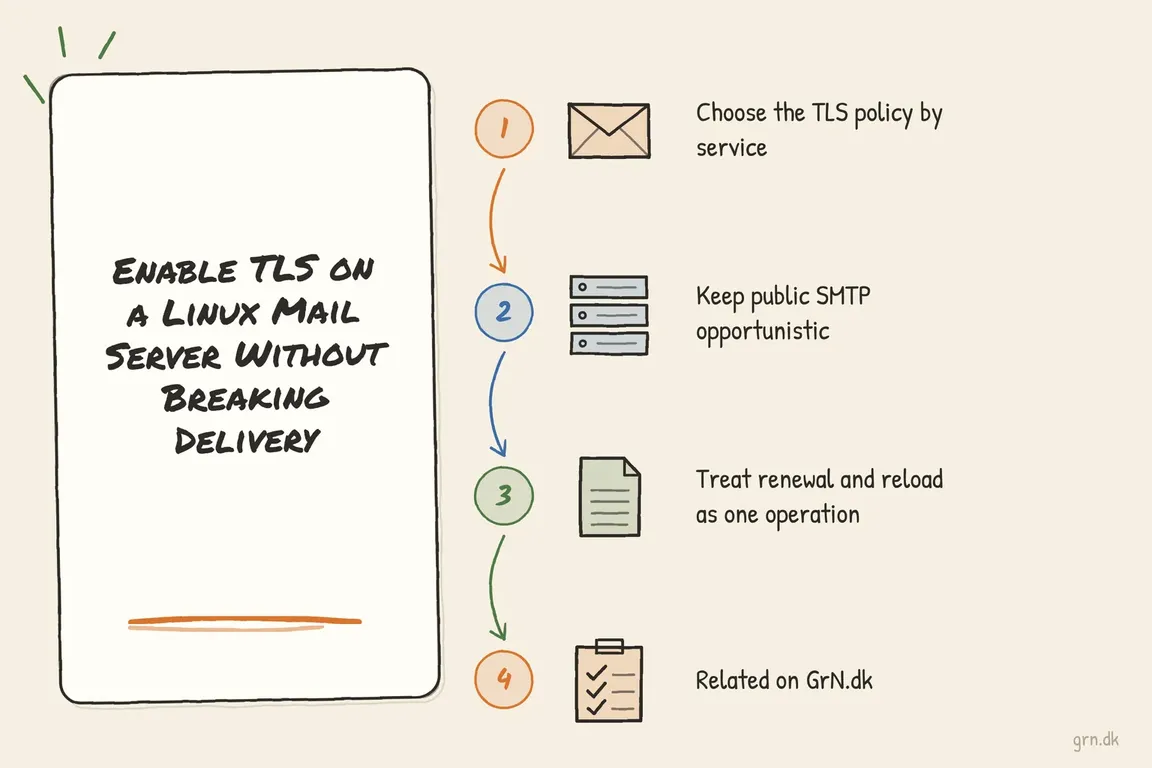
For public internet delivery, Postfix's may policy provides opportunistic TLS. The smtpd_ setting controls incoming connections; smtp_ controls outgoing delivery. It does not guarantee encryption or authenticate the destination. Apply stricter requirements to controlled relay destinations separately.
# /etc/postfix/main.cf — Postfix 3.4 or later
smtpd_tls_security_level = may
smtp_tls_security_level = may
smtpd_tls_chain_files = /etc/postfix/mail-tls.pem
The combined PEM file must contain the private key, then its certificate and intermediate certificates. Postfix recommends this interface to avoid mismatched files during certificate replacement. The deployment script below creates it. See Postfix TLS guidance.
Require authentication and encryption for submission
Apply submission overrides in master.cf, keeping them separate from port 25. Adapt your distribution's existing service entry rather than adding a duplicate:
# /etc/postfix/master.cf
submission inet n - y - - smtpd
  -o smtpd_tls_security_level=encrypt
  -o smtpd_tls_auth_only=yes
  -o smtpd_sasl_auth_enable=yes
  -o smtpd_relay_restrictions=permit_sasl_authenticated,reject
This assumes a working SASL authentication backend. Enabling AUTH alone does not connect Postfix to Dovecot or define who may relay mail; check the Postfix SASL configuration. Retain any necessary sender restrictions and filtering. Confirm that unauthenticated clients cannot relay to external recipients.
If you offer port 465, configure its separate service for implicit TLS using smtpd_tls_wrappermode=yes, with authentication and relay controls. A client configured for STARTTLS on that port will not connect correctly.
Protect mailbox access with the right Dovecot settings
Check dovecot --version first. For an existing Dovecot 2.4 configuration, the TLS settings are:
ssl = required
auth_allow_cleartext = no
ssl_server_cert_file = /etc/letsencrypt/live/mail.example.com/fullchain.pem
ssl_server_key_file = /etc/letsencrypt/live/mail.example.com/privkey.pem
Dovecot 2.3 uses different names and file syntax; do not paste this block into it. The Dovecot TLS documentation also explains key permissions: a normal installation reads the key as root, so making it readable by the dovecot user is unnecessary.
Configure clients explicitly for encrypted connections. Server restrictions cannot stop a misconfigured client from attempting to send a password before TLS. If legacy IMAP or POP ports remain exposed, include them in testing.
Make certificate renewal a complete deployment
Replace mail.example.com throughout with your actual hostname. The certificate must cover the names clients use. This issuance example requires an HTTP server serving the specified webroot, with the challenge path publicly reachable on port 80:
sudo certbot certonly --webroot -w /var/www/html -d mail.example.comWithout that HTTP setup, choose an appropriate authenticator, such as an automated DNS plugin. Use the actual certificate paths reported by Certbot.
Save this root-owned script as /etc/letsencrypt/renewal-hooks/deploy/reload-mail. It builds Postfix's combined file privately, replaces it atomically and reports failures:
#!/bin/sh
set -eu
umask 077
lineage=/etc/letsencrypt/live/mail.example.com
tmp=$(mktemp /etc/postfix/mail-tls.pem.XXXXXX)
trap 'rm -f "$tmp"' EXIT
cat "$lineage/privkey.pem" "$lineage/fullchain.pem" > "$tmp"
mv "$tmp" /etc/postfix/mail-tls.pem
postfix check
doveconf -n > /dev/null
systemctl reload postfix
systemctl reload dovecot
After issuance and configuration, make the hook executable and run it once to initialise the combined file. Then test renewal:
sudo chmod 700 /etc/letsencrypt/renewal-hooks/deploy/reload-mail
sudo /etc/letsencrypt/renewal-hooks/deploy/reload-mail
sudo certbot renew --dry-run --run-deploy-hooks
Certbot's renewal documentation confirms that deploy hooks need the extra flag during a dry run. This test reloads live services. Verify the renewal scheduler and monitor the certificate actually served externally.
Test certificate identity and real delivery
Inspect configuration and logs before and after the change:
sudo postfix check
sudo postconf -n
sudo doveconf -n
sudo postqueue -p
sudo journalctl -u postfix -u dovecot -f
From outside the server's network, test each exposed endpoint:
openssl s_client -starttls smtp -connect mail.example.com:25 -servername mail.example.com -verify_hostname mail.example.com -verify_return_error
openssl s_client -starttls smtp -connect mail.example.com:587 -servername mail.example.com -verify_hostname mail.example.com -verify_return_error
openssl s_client -connect mail.example.com:465 -servername mail.example.com -verify_hostname mail.example.com -verify_return_error
openssl s_client -connect mail.example.com:993 -servername mail.example.com -verify_hostname mail.example.com -verify_return_error
-servername sends SNI; it does not check hostname identity. -verify_hostname adds that check, while -verify_return_error stops verification failures being treated as a usable connection. These behaviours are documented in OpenSSL's test-client reference.
Finally, send an external inbound message, an outbound message and an application notification. Check mailbox login and queue growth. TLS does not replace correct forward and reverse DNS, SPF, DKIM or DMARC alignment.
Leave the team with tested client settings, renewal ownership, alert routing and rollback instructions. If you need help reviewing the setup or coordinating the change across applications and suppliers, discuss your mail server with Greg.
Related on GrN.dk
- Sending Mail from a Linux Server with Postfix: A Practical SMTP Relay Setup
- Sending Mail with Drupal: A Reliable Setup for Business-Critical Email
- NGINX 1.30 changed upstream connection reuse: what to check before you upgrade
Need help with this kind of work?
Discuss your mail server with Greg Get in touch with Greg.